

3d Animation Set Design Tutorial
How to design a set for an animated film
Welcome! This workshop won't only outline the basic way to start a set design, but also introduce the thinking behind set design for animation.
One of the most important aspects of any set in animation is the fact that it should work as a stage for the characters and story, as well as any action that takes place within it. When you look back at some of the classic feature film animations, you'll notice that each frame is designed so that it contains the best composition to tell the story. Your set design should be no different: it should first and foremost be designed for the camera and story.
I find the easiest way to begin is to imagine a scene or actual shot from the final film with a strong story point, and stage it in the clearest way possible. Afterwards, you can reverse engineer the actual design of the set and props.
As a visual development artist, a large part of the job is being able to visualise what the film could look like aesthetically, using techniques such as lighting, texture and stylisation to get that vision across.
Another big consideration that relates specifically to film versus traditional illustration is the time the audience has to digest information. In an illustration, the purpose is to capture the viewer's attention for as long as possible; to elicit their appreciation of small details and paint strokes.
However, in film the viewer only has a limited amount of time to digest the visual information put forth by the camera in a shot. Essentially, every second counts!
Watch the full tutorial
01. Produce some thumbnails

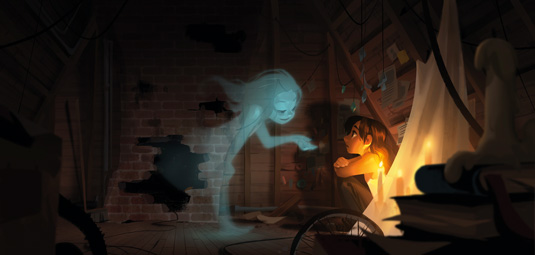
Before beginning, I decide on a simple story – one that's easy to read and a fun jumping-off point. A lonely girl spends her time in the attic of an orphanage or a foster home, and it's here she meets another inhabitant of the attic.
This simple story provides just enough context to get going on a set. I usually produce four or five thumbnails to get things going.
02. Research
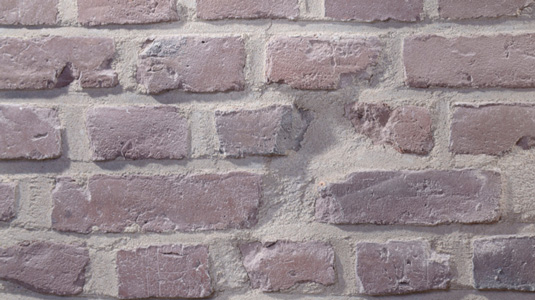
Next, I spend some time seeking out references for different aspects of the painting; these can be photographs of the actual space, props or even lighting.
By the time I start looking for reference I've already made some key decisions about the piece, such as the fact that I want the main light source to be warm candle light.
03. Deciding on a thumbnail
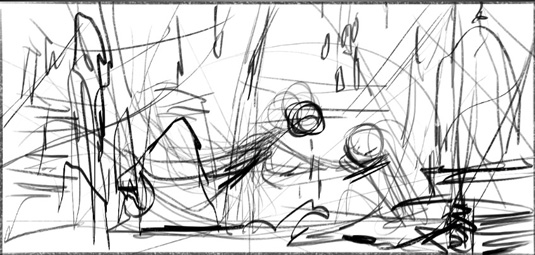
I chose a thumbnail in which the characters stand out from the supporting background. I also decide on the setting of an attic because it has a lot more visual interest than in a bedroom, because of the shapes created by the dormer windows.
04. Laying in the space
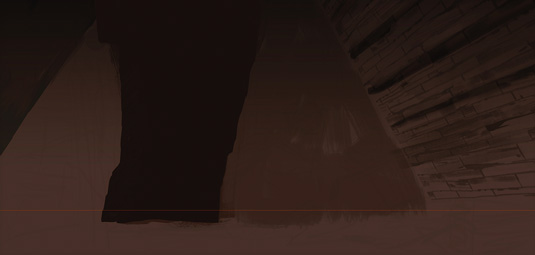
This is the most important step for me, because this is where I lay in the key planes of the set, as well as the initial lighting. It determines not only the size of the space, but how dark or light the final piece will be.
Every stroke I make afterwards will be judged against the value and colour of this first layer of paint.
05. Set up your perspective grids
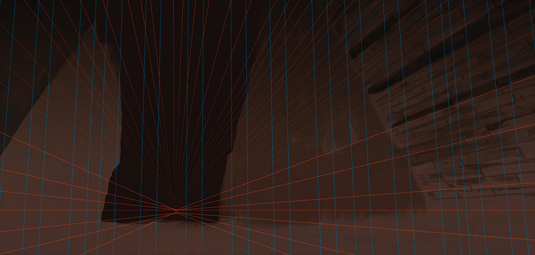
I don't often rely on perspective grids: if I follow them too closely I find the end result looks too stiff for animation.
I do lay them in early, though, so I can look back and remind myself of what perspective I think the piece should be. The decision of what perspective to use has already been determined in my loose thumbnail.
06. Creating your own textures
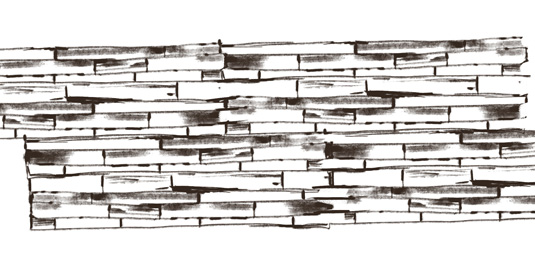
I tend not to use photographs in my paintings, because they rarely look correct next to the more cartoony characters. So for repeating patterns and textures, I've started to find ways of creating my own.
The danger in this though, is too much repetition, so I make sure things aren't too even: for example, the widths of the wood.
07. Laying in your textures
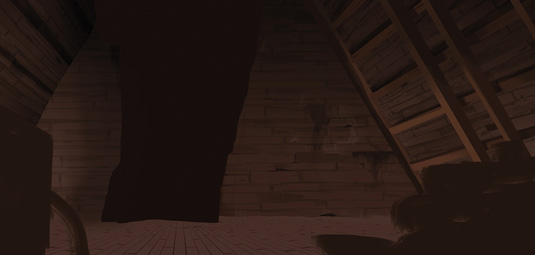
Next, I apply texture along those large planes of the set I established early on. I regularly pull up my perspective grid to make sure that it follows it more or less.
I often use these textures in a layer mode such as Multiply and adjust the Opacity. It's important to paint over the laid-in texture, because otherwise it'll look like a flat texture that's been overlaid, funny enough!
Next page: the remaining steps
Current page: Page 1
Next Page Page 2
Related articles
3d Animation Set Design Tutorial
Source: https://www.creativebloq.com/tutorial/how-design-set-animated-film-101517311
Posted by: hobgoodpaptur.blogspot.com
0 Response to "3d Animation Set Design Tutorial"
Post a Comment